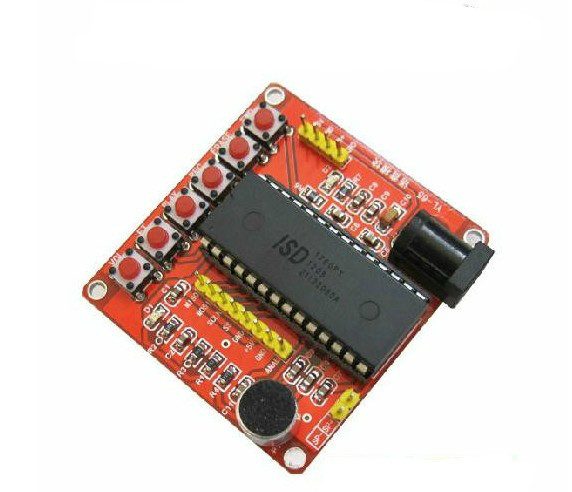
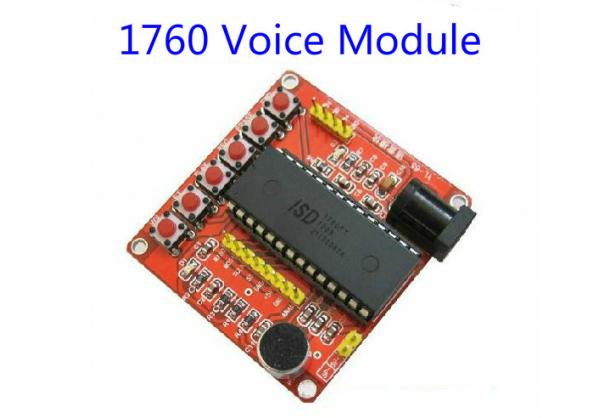
ISD1700 voice recording system class module / ISD1760 module / 1760 Voice Module
ISD1700 voice module description:
ISD1700 voice module is quickly become familiar with and master the ISD1700 series chip designed for a simple and practical circuit board. It applies to the whole ISD1700 series chip , with simple, fully functional characteristics. Playback ISD1700 series chip is a highly integrated , high-performance chips . It can be multi-segment recording, sampling rate can be adjusted from 4K to 12K , power supply range between 2.4V to 5.5V. There ISD1700 new recording prompts, when a new recording later , LED flashes once every few seconds back to prompt the user for new recordings. In addition there are four kinds of sound operating results to prompt the user , such as start recording, stop recording , erase, erase all of the next one , and so on . Recording data stored in the chip FLASH, without any compression , and therefore a better quality power storage. Chip has two independent channels of audio signal input , microphone input and an analog signal input. In standalone mode button , a function of the operation is completed when the chip will automatically enter power-down mode to reduce power consumption . In SPI mode, the user can perform more functions on the chip operation . If for any storage address recorders , analog channel configuration register (Analog PathConfiguration register, APC) to read and write and so on .
Module Description :
1 Size : 5.2CM * 5.5CM;
2. Power : 5V;
3. Recording time : 6K 75 seconds, 8K 60 sec;
4 chip operating frequency 6KHZ and 8KHZ optional ;
5 with power indicator light, the chip indicator lights ;
6 simple, does not require a microcontroller or other modules will be able to work directly ;
7 pin chip control has led to facilitate the control connection
ISD1700 modules work independently instructions :
1 . Recording REC:
Press and hold the REC key while LED lights up , this time facing the MIC speak, speak content will be recorded into the ISD1700 voice chip in it.
After recording some lift this key , LED will also turn off , press again to start recording the second paragraph , the subsequent paragraphs were operating .
2 . Playback PLAY:
There are two ways , edge-triggered and level-triggered . ( Note : After recording playback pointer will stay in the starting address of the last segment of the finished recording , playback at this time is to put the last paragraph )
( 1 ) Edge : Click the PLAY button that put the current segment , LED flashes during playback until the playback ends off. Playback after playback pointer to the end of the start address of the segment just put in , click the PLAY button will put just finished put this again.
( 2 ) Level Trigger: the chip will often press the PLAY button all Play all voice messages , and this cycle until you release the button .
3 . Fast forward FWD:
Before performing playback operation , click this button playback pointer will point to the next section , double-click the starting point to the second paragraph after paragraph . Click this button during playback to stop playback of the current segment and then play the next paragraph, if the last paragraph is currently playing , stop playing the last paragraph of play in the first paragraph .
4 . ERASE ERASE:
Single segment erase operation can only be effective on the first and last paragraphs , when the playback pointer is the first or the last paragraph , the key point here is to erase the first or the last paragraph . Playback cursor will jump to the corresponding second or penultimate paragraph before erasing . Normally this key more than 3 seconds chips into the " Erase all modes of operation ," while LED lights flash twice, continue pressing this button , LED blinks off after 7 under , then release the button , voice messaging inside the chip is All erased.
5. Reset RESET:
Click this button to reset the chip to perform the operation . After reset, play and record pointers point to the last paragraph, which the playback pointer to the last paragraph of the start , recording a pointer to the last paragraph of the last . Run the playback is played in the last paragraph , the last paragraph and then execute it to start recording a new record last paragraph .
6. Tuning VOL:
Click this button to adjust the size of the chip output sound. The default is the maximum sound output of the chip , according to every tap, sound attenuation by 4db . Until the smallest sound , continue to click this button , press each click, the sound increases 4db ( Note: After the reset , the sound output is the maximum ) .
7 . FT passthrough operations :
The FT pin and GND shorted, will continue to remain low start passthrough mode . Passthrough operations will have direct access voice output from the speaker or AUD Analn end . During recording, if you press the FT, will also record incoming voice signal Analn


